Software
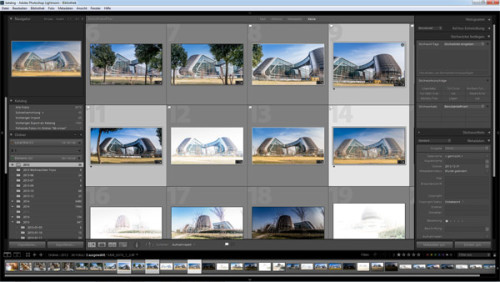
Adobe Lightroom
Usually i shoot my pictures in the in RAW format. The big advantage of shooting in RAW is that the picture can be much better post processed with software like Photoshop Lightroom or the RAW converter. RAW files are containing much much more information than Jpeg files. If you shoot in Jpeg, the camera is doing some adjustments on your pictures like color enhancement, contrast, brightness etc. Afterwards the camera delete all the “unneeded” detail information in your picture to make the file smaller. A RAW might be 5 times bigger than a Jpeg.
If you post process your RAW files in Lightroom or Photoshop RAW, you can get a lot more information out of the Picture. If your sky is too bright, you just turn down the highlights and you will get much more details back like clouds and colors. Or if your dark areas are fully black, you may get a lot details back by increasing the shadows. This gives your pictures a HDR (High Dynamic Range) look. You may also adjust and strengthen the colors and luminance, reduce noise and sharpen the pictures. After you are happy with the result you can export the picture as an Jpeg and usually the results are much better than what the camera can do for you.
I personally use Adobe Lightroom 5 to work on my pictures and i’m very happy with this great tool.
I don’t want list all the functions of Lightroom here. You may find tons of tutorials at YouTube about this nice peace of software.
HDR – Photomatix Pro
I also like HDR (High Dynamic Range) pictures. I use it when the contrast is very high. Usually for landscape and buildings.
The human eye is able to see a much wider range of contrasts than a camera can do. E.g. when the sun is shining and there are hard lights and shadows or if you shoot into the sun.
For an HDR you usually take 3 or more pictures of the same situation with different exposures. One under exposed, one right exposed and one over exposed.
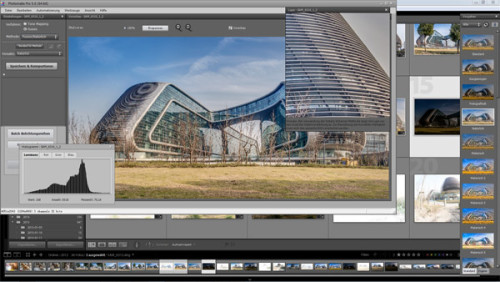
I usually take this 3 pictures and then i export it from Lightroom to my favorite HDR software Photomatix Pro. The software than takes e.g. the sky of the under exposed picture with nice blue colors and details in the clouds, it takes the shadow areas of the over exposed picture where all the details in the dark areas are visible and the normal exposed details of the 3rd picture and merges it together to one HDR picture.
Photomatix Pro might be not the best HDR tool but so far i know the only one with the option to avoid ghost pictures. If you want learn more about HDR pictures and also Lightroom, i suggest the tutorials of Serge Ramelli, a crazy frensh photographer who speaks perfect english.
Adobe Photoshop
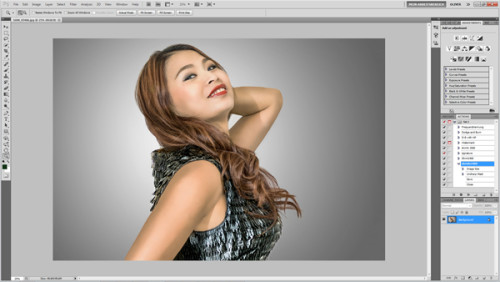
Lightroom comes also with a repair brush, but for retouching, composing and advanced effects, there is no other way then Photoshop. I still use the version CC. I mainly use it for skin retouching, cleaning with the stamp tool or the repair brush and patch and all the nice effects like curves, levels, color adjustments and and and…
I also use the Topaz Filter collection which delivers usually great results for de-noising, (skin) cleaning, clarity and so on. A big advantage in Photoshop is the use of layers and masks what gives you all opportunities you need to produce great images.
There are also hundreds of You Tube tutorials. I recommend PHLearn or Calvin Hollywood. Two gods of Photoshop : )
I hope i could give you a good overview about my work flow and the tools i use. If you have questions, don’t hesitate to send me a message


